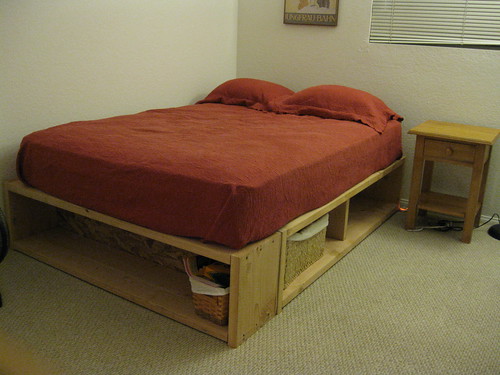
This weekend my dad and I built the full sized storage bed from Ana White's Blog. I really love the deep cubbyholes of the twin sized storage daybed and was disappointed with the smaller (12"X12") cubbyholes on the full sized storage bed. So with the help of my dad we came up with a plan to modify Ana's plan to suit my desire for bigger cubbyholes. We also figured out a way to save a few dollars and a whole lot of time!

We Used Thicker Wood
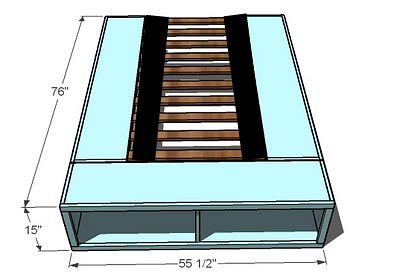
OK, this is the Ana's original drawing. It calls for 1X12 boards which are then trimmed out with 1X2's. We found that the 1X2X8 boards were quite a bit cheaper and the thicker boards actually didn't require trim. At my Orange store the 1"X12"X8' boards were $14.95. However, the 2"X12"x 8' boards were only $8.43. That was our first change and it would have been a $39 savings! I say, "would have been" because 2" X 12" boards are very heavy and while loading them on to our cart, we neglected to notice we chose 2"X12"X10' boards which were actually $10.54. So our savings on the boards was actually about $26. We ended up with quite a bit of extra wood. No worries there, I will use it!
As soon as we started building the boxes, we realized that with the thicker wood, there really is no need to add the 1"X2" trim. It is not needed for stability and it's really not needed for looks either. That right there had me jumping for joy! I was dreading all the miter saw cutting that the trim would have required. This also saved me about $7 in trim.
Another savings move was the decision to use OSB instead of plywood for the backs of the cubbyholes. Once everything is painted, nobody will be the wiser. The cheapest grade of plywood was $13. OSB cost about $8. Only $5 difference, but hey, every penny counts.
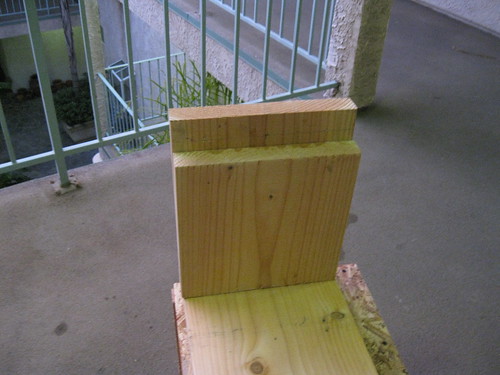
We Made The Side Cubbyholes Deeper
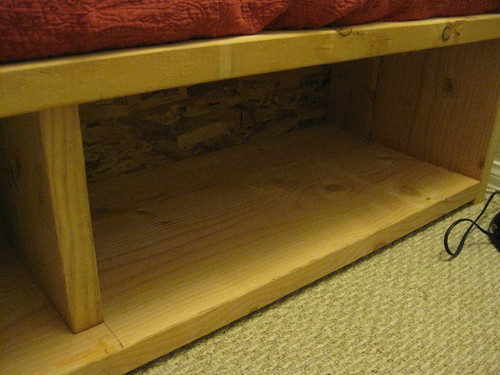
This is my clumsy illustration of our changes. Basically those black stripes are 2"X6" boards. We actually made 2"X6" boxes and attached them to the bigger 2"X12" boxes to create finished cubbyholes with a depth of 17".
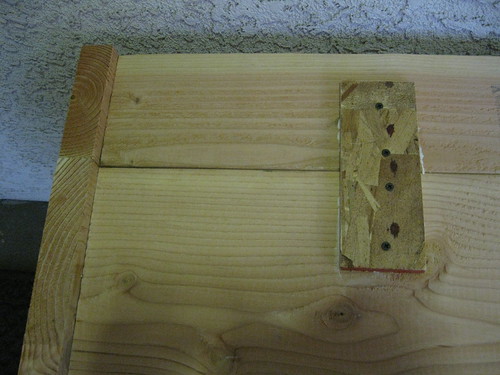
We used some OSB scraps to attach them on the bottom.
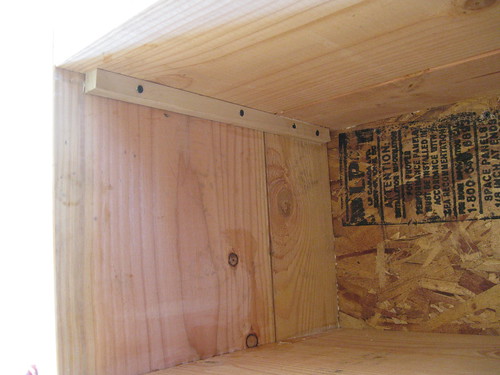
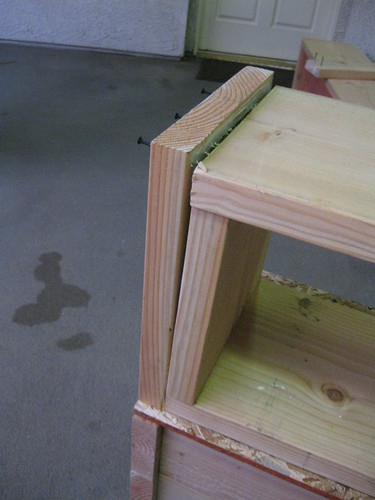
We used some 1"X 1" square dowel to attach the two "boxes" on top.
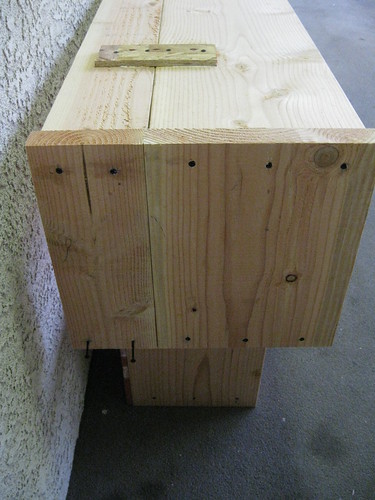
This shows the side cabinet stacked on top of the end cabinet. You can see the "2X6" and 2"X12" parts joined together. It is super strong and frankly, this whole addition is hidden inside the bed and under the mattress.
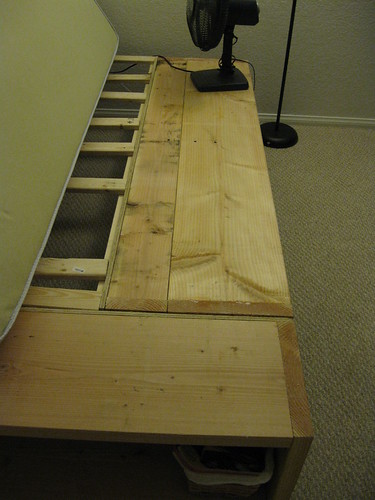
*Quick tip- My wood was damp. It was so slight that I didn't really notice it, but then when I laid my mattress down, it got damp. So we had a fan in there to dry it for a bit.
That's deep!
Divider Modifications
Another modification is pictured above. We placed the center divider half way in so that both the 2"X6" and the 2"X12" could be screwed into the support. I could have used a 2"X6" piece behind the 2"X 12" divider to make it flush to the front, but I didn't mind that it was set back or that there was a little space open behind the divider. Frankly it was getting late and I wanted the job done. We actually left the divider out of the end cubbyhole altogether. With the thicker boards we felt it was plenty strong enough to go without the divider.
Helpful Trick
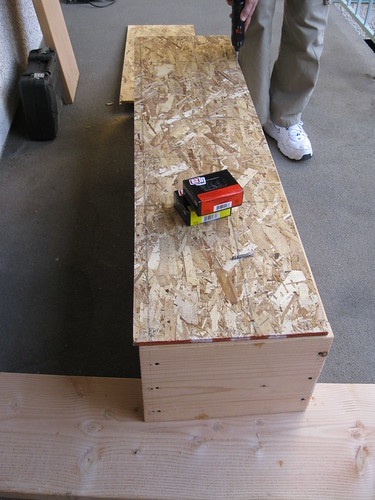
The bottom of the boxes is elevated 3/4" off the ground. So my dad and I built the top and two sides first. With it sitting bottoms up on the bench, we used the cubby dividers tp perfectly support and position that bottom board as we screwed it in.
That is just the kind of trick someone with experience can teach you! Thanks Dad!
Finishing Plans
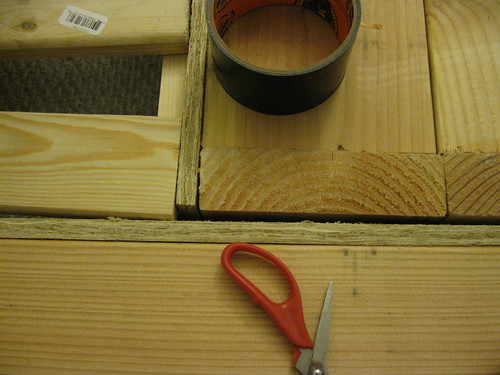
I plan to sand and paint this bad boy over spring break, or maybe even summer vacation. It's going to be a lot of work and right now I need to concentrate on school. In the mean time, my father suggested using Gorilla tape over the rough spots to protect the mattress bottom from tears. I also covered a lot of the screws that are on top. Better safe than sorry.
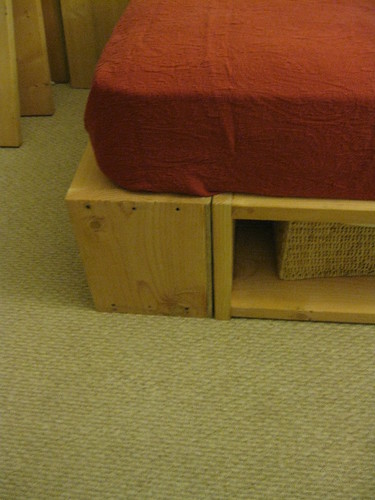
Another detail that I want to take care of is the side of the bottom cubby. You can see where the OSB is. I am thinking about getting some thin trim about the depth of a paint stirrer and framing out that one side.
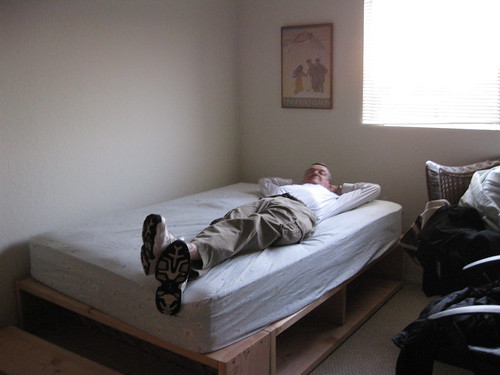
Too bad this picture is staged. My dad is actually on a red eye back to Florida right now. The bed was finished just before they left.
Final Analysis:
Pros
- Easy to follow -easy to modify pattern from Ana White
-Using the 2" thick boards made for a very sturdy bed & saved some time and money on trim
-Modifying the side cubbyholes to make them deeper really adds even more functionality to the bed
-Very fun bonding time with my dad.
-Lots of DIY satisfaction
Cons
2" boards are super heavy. This is a two person job. Even shopping was a two person job.
Because of our changes and price comparing etc...shopping at Orange for our supplies took a long time.
We should have deducted 2" off the width of the bed. Not a big deal really, but in an apartment every inch counts.
2" boards and OSB will require more sanding and prep work before painting.
After I make some returns of finishing nails, extra boards, and a miter saw I never used, the cost (before paint) is $121.64.
Oh! And CA residents, I used a coupon for OSH and they honored it! So I saved about $30 after three trips through the checkout.
I definitely caught the building bug! Sadly, I have a ton of furniture and don't need anything else right now.
Do you have any building plans right now? Do share!
3 comments:
It turned out awesome! can't wait to see it all painted. I've been lurking on Ana-White's site for sometime, trying to figure out what I want my first project to be:)
It turned out great!
this is awesome! so great you made it and what a special time with your dad! cant wait to see what color you paint it! this is great and will hold up for years!
Post a Comment