This week I am going to repost some of my favorite projects using Picnik. I believe their last day is April 19. There is time to make any number of projects if you don't delay.
Anyway, this post actually comes from my old school blog, My Many Colored Crayons. This was one of my favorite projects ever. Enjoy!
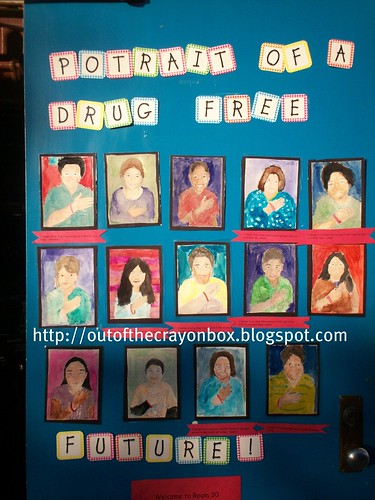
Portrait of a Drug Free Future!
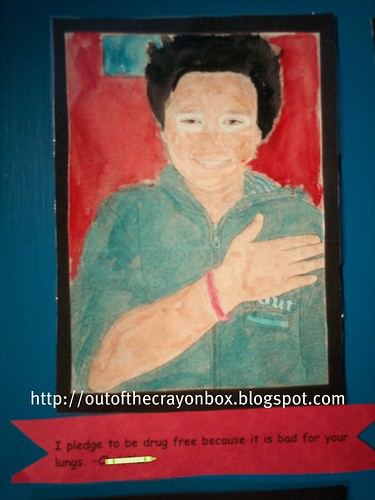
It's Red Ribbon Week at OFS and this year we are celebrating with a door decorating contest. I have a slight problem with bragging about the Crayons and today is no exception. Check out this door!! See our Red Ribbon bracelets? The little "red ribbons" contain student writing on why they pledge to be drug free. I think it has a good chance at winning!
And, I really want to win which is silly since the prize hasn't even been announced.
I was inspired by a portrait project in this month's Family Fun magazine which unfortunately is not linked yet. However, their project had multiple steps and involved acrylic paint. It just seemed a bit complicated when multiplied by 25 students. Last week was the Hispanic Heritage Month Dance. This week is the book fair and OCR testing, so teaching them how to draw a self portrait was out of the question.
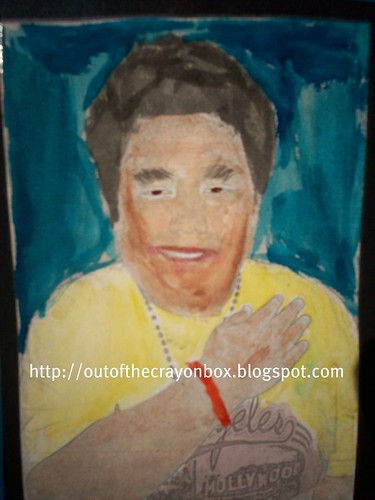

My version of Cheater Self Portraits used few supplies and worked out well for fourth graders with little experience with water colors.
Here's our tutorial for Watercolor (Cheater) Self Portraits:
Supplies:
drawing paper cut to 8.5" X 11"
water colors
a digital picture
a computer with internet access
1. Take a picture with your digital camera. I think a close up or a relatively simple scene would work best.
 (This picture is not of a student but, from an ad.)
2. Go to Picnik and upload the photo(s) for free! Choose their
 "create" menu and then scroll down the special effects until you find the one that is called "Pencil Sketch." Apply that effect to your picture.
3. Print the picture out on the drawing paper. At work I have access to a laser printer. At home I used an inkjet and I found worked well even with water colors.
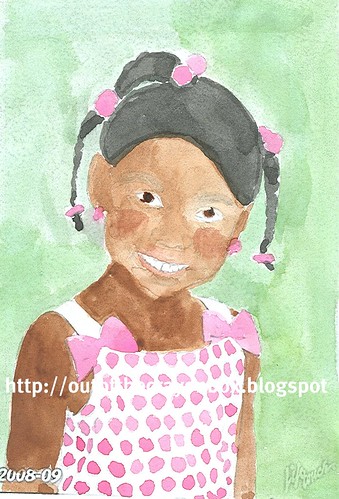
4. Paint the picture with water colors. Less is more. It's nice to let a little of the print come through. It makes the details like a nose, much easier.
I gave my students two copies so that they could practice controlling the paint and mixing colors. I am pleased with the outcome. It took two hour long sessions to complete.
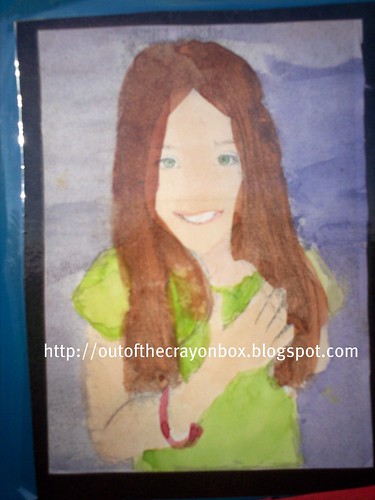
Update: That was the post from way back in 2009. Naturally, we did win the door contest and the prize was a new Connect Four game. Sweet! Later I went on to make another watercolor of my colleague's daughter. I thought it came out super cute.
I had always planned on making several others as Christmas gifts for various people. And, of course, now I want one of my own kiddo. I wonder how many I can get done between now and April 19?
1 comment:
Because of this wonderful post which I read last year I have made numerous watercolor sketches as gifts. I put them on watercolor paper and then use watercolor pencils - and then a little brush of water to mix the colors better. Then I mod podge my watercolor paper onto a mini canvas. It turns out beautifully!
I, too, was really upset that Picnik was ending, but I found FotoFlexer that has a sketch function like Picnik. So you can relax a little.
Thank you so much for this awesome idea! My favorite internet idea of ALL TIME!
Post a Comment