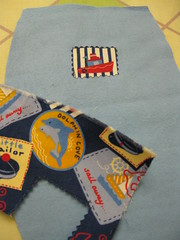
I went to the flickr group and saw that most people were making girl dolls. So I decided to make some boy dolls. I have a few boy doll patterns in a vintage doll making book I got many years ago at the thrift, but they all required yarn hair. The hardest part about making a boy doll, in my opinion, is the hair. I don't have any yarn and wanted to use my stash and not add to it.
For better or for worse, this summer is going to be all about using what I already have.
I decided to do baby dolls for the sole reason that they can be bald!
A quick google search and I had my "inspiration doll." Before long I drafted my very first pattern! I used the sleeve design from my raggady anne dolls. It wasn't to hard to draw a big "U" for the bunting, but getting the proportions right was a bit trickier.


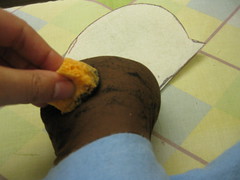
I have a thing for bald fades! I think that swirl on the back of a bald fade boy's head is absolutely precious. Sponge painting with simple craft paint worked great for the hair.
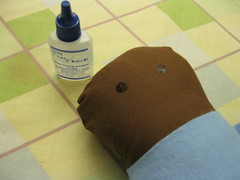
To make the eyes show up on the dark fabric, I first made circles with fray check. Once it dried, I went over the circles with a sharpie. I also used sharpie for the mouth and cheeks.
Tah Dah! Bed Time Boys! I am going to tweek the pattern a bit more tomorrow and then I will make a tutorial.
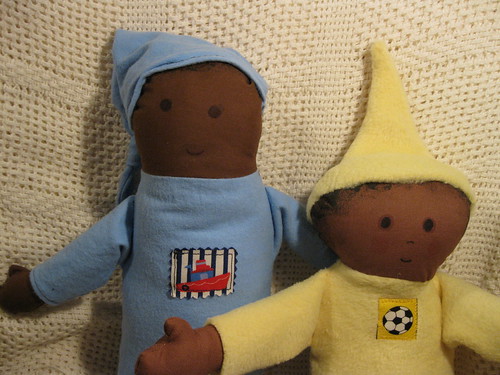
What do you think... long and lean or short and chubby? I am thinking of making a rounder head with the long body.
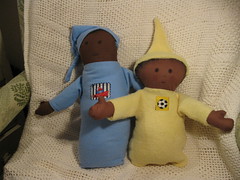
* The hats were created using a mini version of Soule Mama's Caps for Cap- Haitien.
Very cute! I do like the short and chubby, but I think the rounder head on the taller one is a good idea too. I came across their site the other day too and am hoping to have time to make one this month.
ReplyDeleteI like the yellow one better. It looks awesome!
ReplyDeleteOn another note, I've been meaning to leave you a comment for ages - I spent an entire weekend reading your other blog; I couldn't stop! It's brilliant! Your Crayons are amazing and I love all the projects you do with them.
I haven't had a chance to read all your posts on this blog yet, but I love what I've read already - you've given me so many ideas on saving money by making really cool presents!
Thanks for sharing your doll-making process! I'm glad to hear that you'll be participating in the Craft Hope Project and I'll be looking forward to your tutorial!
ReplyDelete